How to Glue Metal to Wood – DIY Triangle Shelves
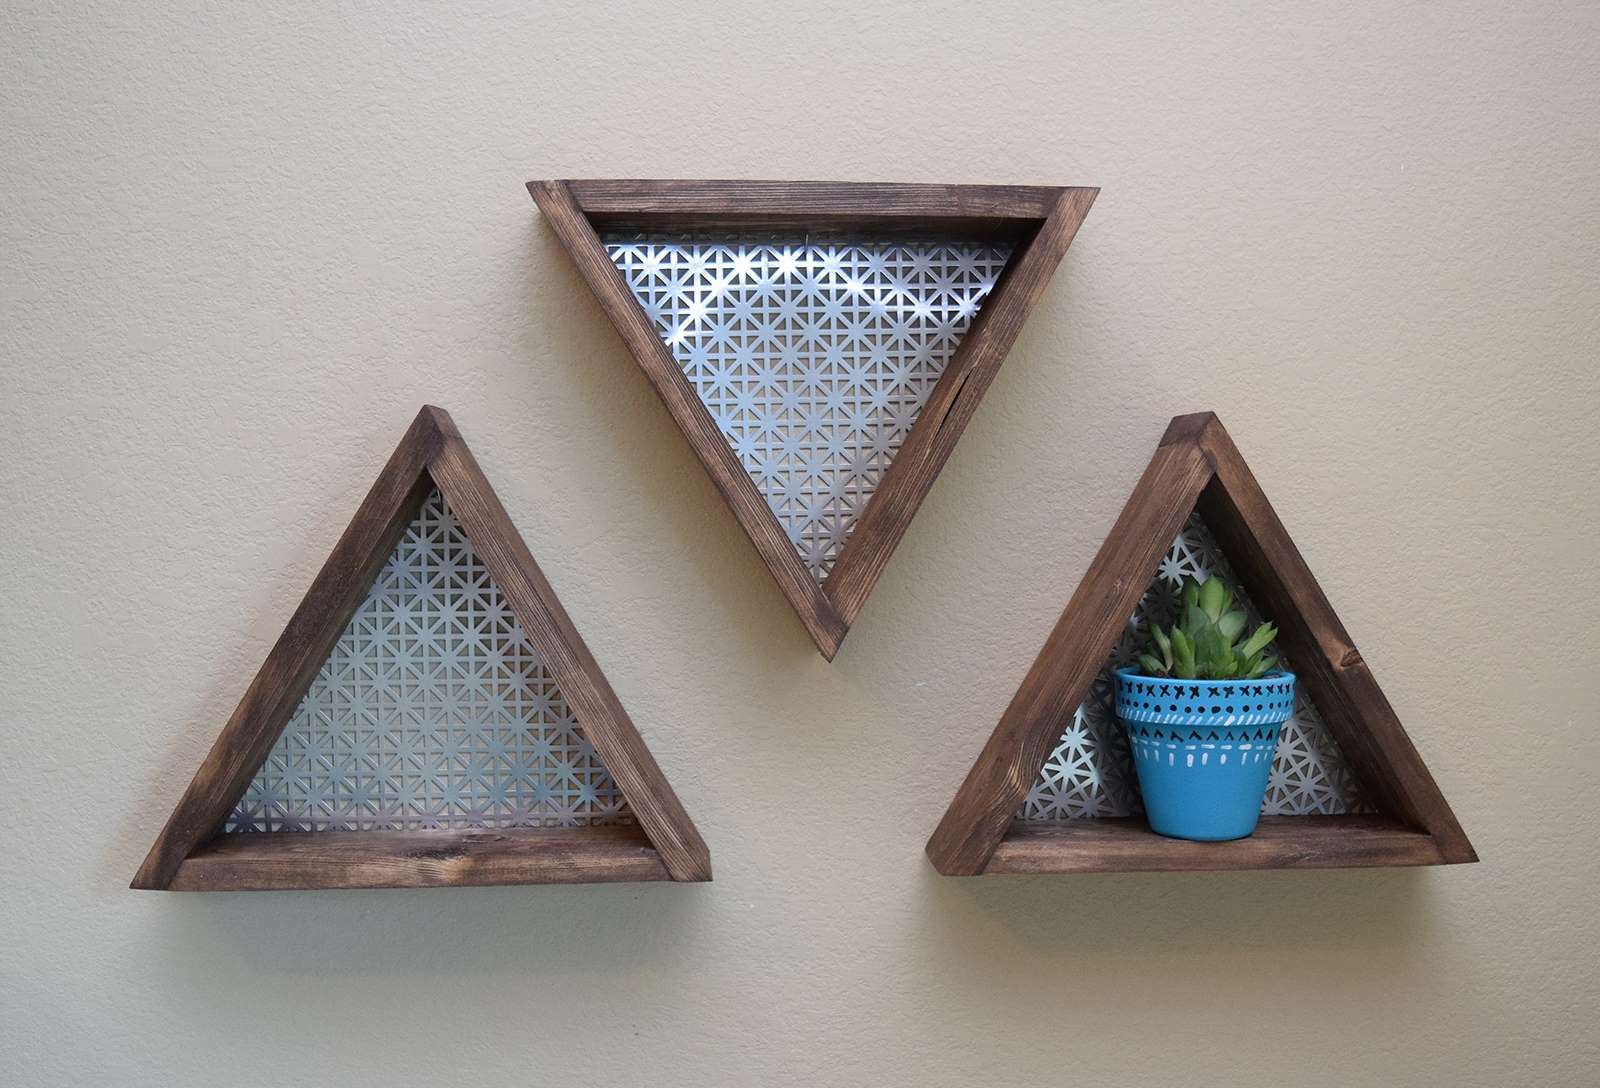
This project brings metal, wood and geometric awesome-ness all together to decorate almost any room in your home!
What you need:- 2x4 wood boards
- Aleene's The Ultimate Multi-Surface Adhesive
- Aleene's Wood Glue
- Decorative metal sheeting
- Staple gun
- Sanding block
- Wood putty
- Wood stain

So the idea of making triangle shaped shelves seemed amazing but trying to actually, physically make them without any particularly fabulous math skills proved to be a bit difficult! Wanting 3 equilateral triangle shelves we had to put on our thinking caps to make things work. Once we figured out the math things came together quite well.
To form each of our triangle shelves we cut 3 pieces of 2x4 pine boards into 11 5/8", 12" and 13 1/8". If you have a simpler way to form the triangles we'd love to hear about it in the comments!

To make 3 shelves the same size as ours you'll need to grab two 2x4x8 wood studs.
To achieve the proper shape, you'll want to cut each board as shown above. Each end is a 30 degree angle. We used a power mitre saw, but you can easily use a hand saw and a mitre box to keep this project incredibly budget friendly.

Once your boards are cut they should piece together to make a triangle. If you find that one side is a bit too long to fit, simply use a sander to take off a small amount of wood at a time until the pieces sit fairly flush.
If making multiple shelves it's a good idea to mark the backside of each set with the same number, letter or symbol to keep each set together. Piecing the shelves perfectly might be difficult if you have to keep grabbing piece after piece trying to make it work like a puzzle!
 Once all boards are cut you'll need to sand down the cut edges to make them nice and smooth.
  Place a healthy amount of Aleene's Wood glue on the end of your first cut piece.
  Place your pieces together to form the first part of your triangle shape.
  Add glue to your last piece and finally form the triangle shape.
  Continue for your other shelves and allow each to sit upright and dry at least 24 hours without being moved.
  To reinforce the glue's hold, use a staple gun on the 3 corners attaching where the two pieces meet.
  Apply wood putty to where your pieces join to hide the seam. Allow to dry completely and then sand smooth with your sanding block.
  Stain your wood and allow to dry 24 hours. This color is fabulously neutral Special Walnut and is a great color for wood.
This is a decorative metal sheet purchased at Hobby Lobby using a half off coupon. There is enough metal here to back 3 shelves.They also sell these sheets at the hardware store but they are sturdier and more difficult to cut and much more expensive.
Trace the outside shape of your shelf onto the metal.
 You can use alcohol and a clean rag to remove any permanent marker lines you might accidentally get onto your wood! Oops!
Using metal snips (these are from the craft store) cut out the shape of your metal backing. Cut just inside the mark you made so that the triangle will fit on the back without overlapping the sides.
FYI - this metal is sharp and will cut you. It is advisable to wear protective gloves and protective eyewear.
 Apply The Ultimate Glue around the back side of your shelf.
Press your metal onto the glue and use weight to help hold into place. Allow the glue to dry a few hours.
If using heavy items on your shelves, it is a good idea to further attach the metal using a staple gun tapped in each of the corners.
 There are many ways to hang your shelves but here we've used Monkey Hooks. These hooks are taken and pushed through the sheet-rock on the pointy side leaving a hook sticking out of the wall.
  The shelves can then be hung by the hooks as they come out of the wall. If you're slightly too high or too low, just move the piece up or down a slot in the pattern of your metal!
  Since the shelves are made from 2x4, they are fairly shallow. And, to be honest we were looking at them more as decor items with a strong emphasis on the metal backing on their own than hugely helpful shelves.
  The shelves work so well in the space with our lime green sofa and mid-century modern inspired furniture...
  ... and of course that cactus terrarium I made, too!
  For less than not that much money we have 3 shelves that you'd pay top dollar for in a store and we couldn't be more pleased with them!


