Skip to content
Pause slideshow
Play slideshow
FREE SHIPPING ON ORDERS OF $25 OR MORE! - U.S. SHIPPING ONLY | Enjoy 25% off sitewide
icon-X
Close menu
Products
Glue & Adhesives
Original Tacky
Fabric & Notions Adhesives
All-Purpose Craft Glue
Paper Glue
Jewelry Glue
Wood Glue
Super Glue
Repair Adhesives
Tapes & Adhesive Dots
Mounting Putty
Adhesive Dots
Magnetic Tape
Glue Sticks
Fabric Tape
Sealers & Spray Adhesives
Acrylic Sealers
Spray Adhesives
Snow Sealer
Decoupage
Industrial-Strength
Liquid Fusion Glue
Heavy Duty Glue
Super Glue
Specialty Use Glue
Industrial Glue Sticks
Bulk Packs
Original Tacky Glue
All-Purpose Craft Glue
Fabric & Notions Adhesives
Acrylic Sealers
Wood Glue
Repair Adhesives
Hot Deals
DIY Projects
FAQ
Aleene's Story
Log in
instagram
Instagram
Facebook
YouTube
Pinterest
TikTok
Cart
icon-X
Close cart
Your cart is currently empty.
icon-search
Search
icon-hamburger
Site navigation
Products
Glue & Adhesives
Original Tacky
Fabric & Notions Adhesives
All-Purpose Craft Glue
Paper Glue
Jewelry Glue
Wood Glue
Super Glue
Repair Adhesives
Tapes & Adhesive Dots
Mounting Putty
Adhesive Dots
Magnetic Tape
Glue Sticks
Fabric Tape
Sealers & Spray Adhesives
Acrylic Sealers
Spray Adhesives
Snow Sealer
Decoupage
Industrial-Strength
Liquid Fusion Glue
Heavy Duty Glue
Super Glue
Specialty Use Glue
Industrial Glue Sticks
Bulk Packs
Original Tacky Glue
All-Purpose Craft Glue
Fabric & Notions Adhesives
Acrylic Sealers
Wood Glue
Repair Adhesives
Hot Deals
DIY Projects
FAQ
Aleene's Story
account
Log in
icon-search
Search
Cart
Search
Search
Projects
Teacher Appreciation
·
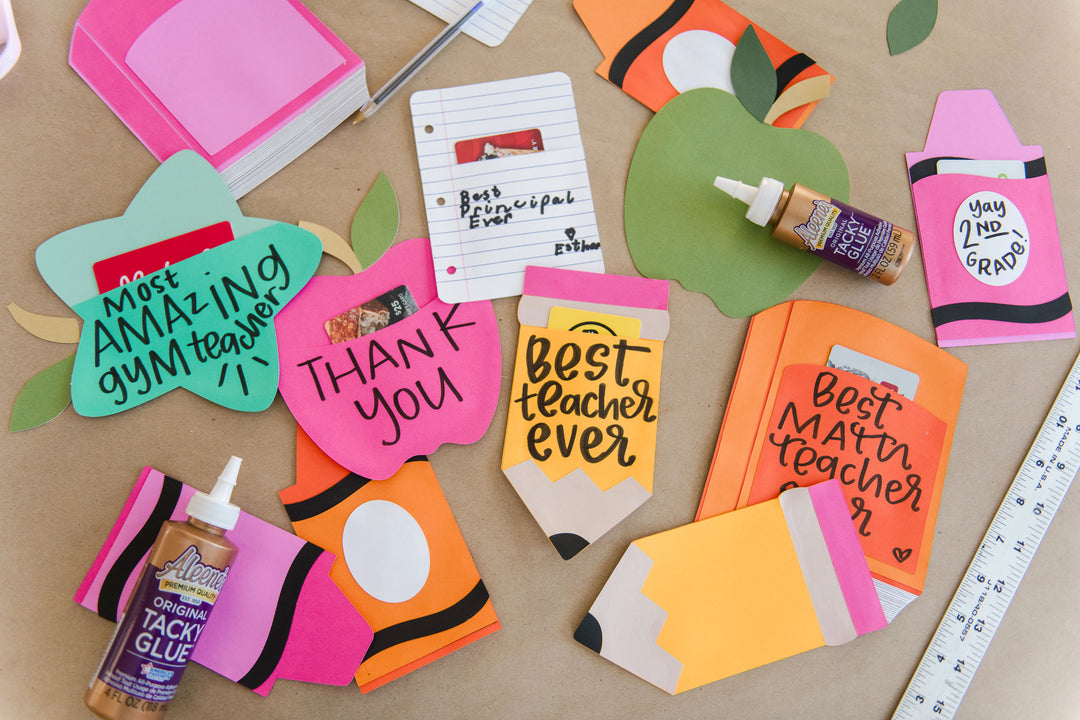
Teacher Appreciation Day Gift Idea: DIY Gift Card Holder with Tacky Glue
Classroom Crafts
·
Kids' Crafts
·
Nature Crafts
·
Paper
·
Paper Crafts
·
Spring
·
Summer
·
Easy Kids’ Paper Crafts: 3D Paper Bugs with Tacky Glue
Denim
·
Fabric
·
Fabric Glue
·
Lace
·
No-Sew Fashion
·
Upcycle
·
No-Sew Upcycled Jeans with Crochet Doilies and Fabric Glue
Flower Crafts
·
Home Décor
·
Industrial Adhesives
·
Photos
·
Tacky Glue
·
Wood
·
Wood Glue
·
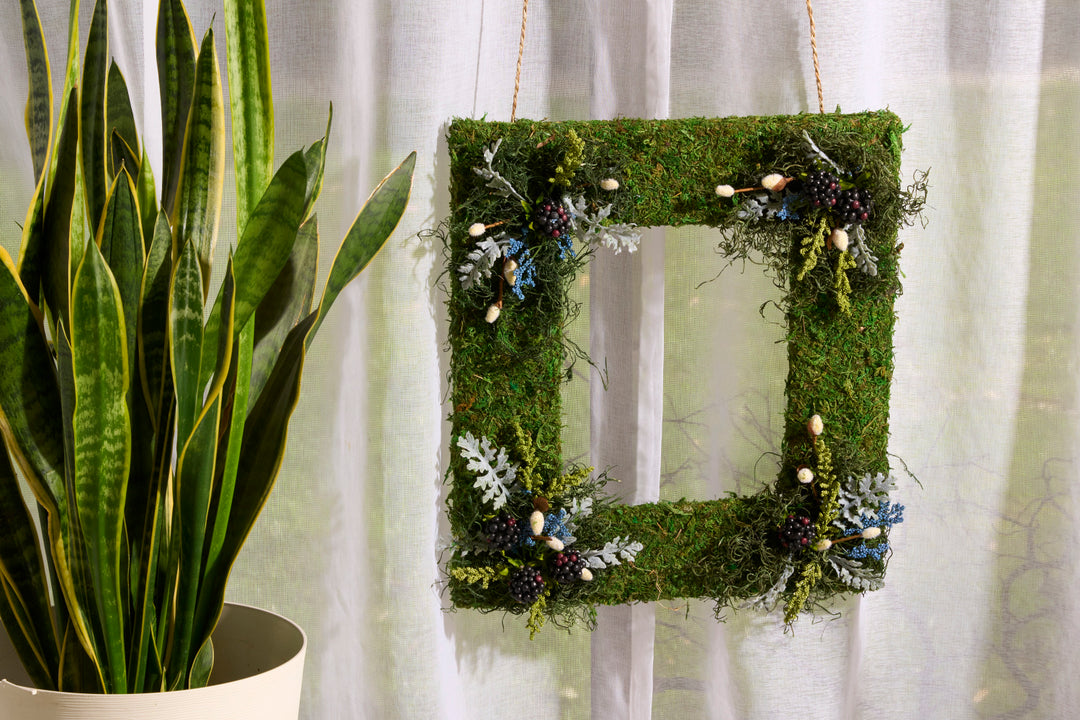
Preserved Moss Wall Art Frame with Tacky Glue and Adhesive Spray
Home Décor
·
Paper Maché
·
Planters
·
Tacky Glue
·
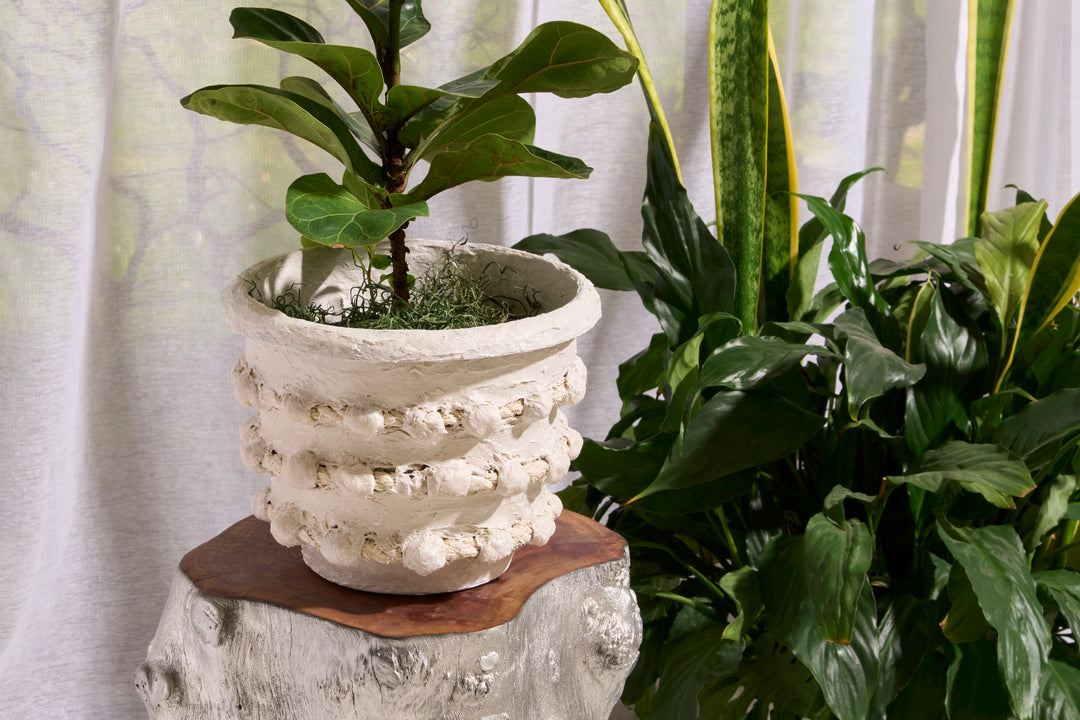
Anthro-Inspired Textured Pot Dupe with Papier-Mâché and Tacky Glue
Kids' Crafts
·
Paper
·
Paper Crafts
·
Tacky Glue
·
Valentine's Day
·
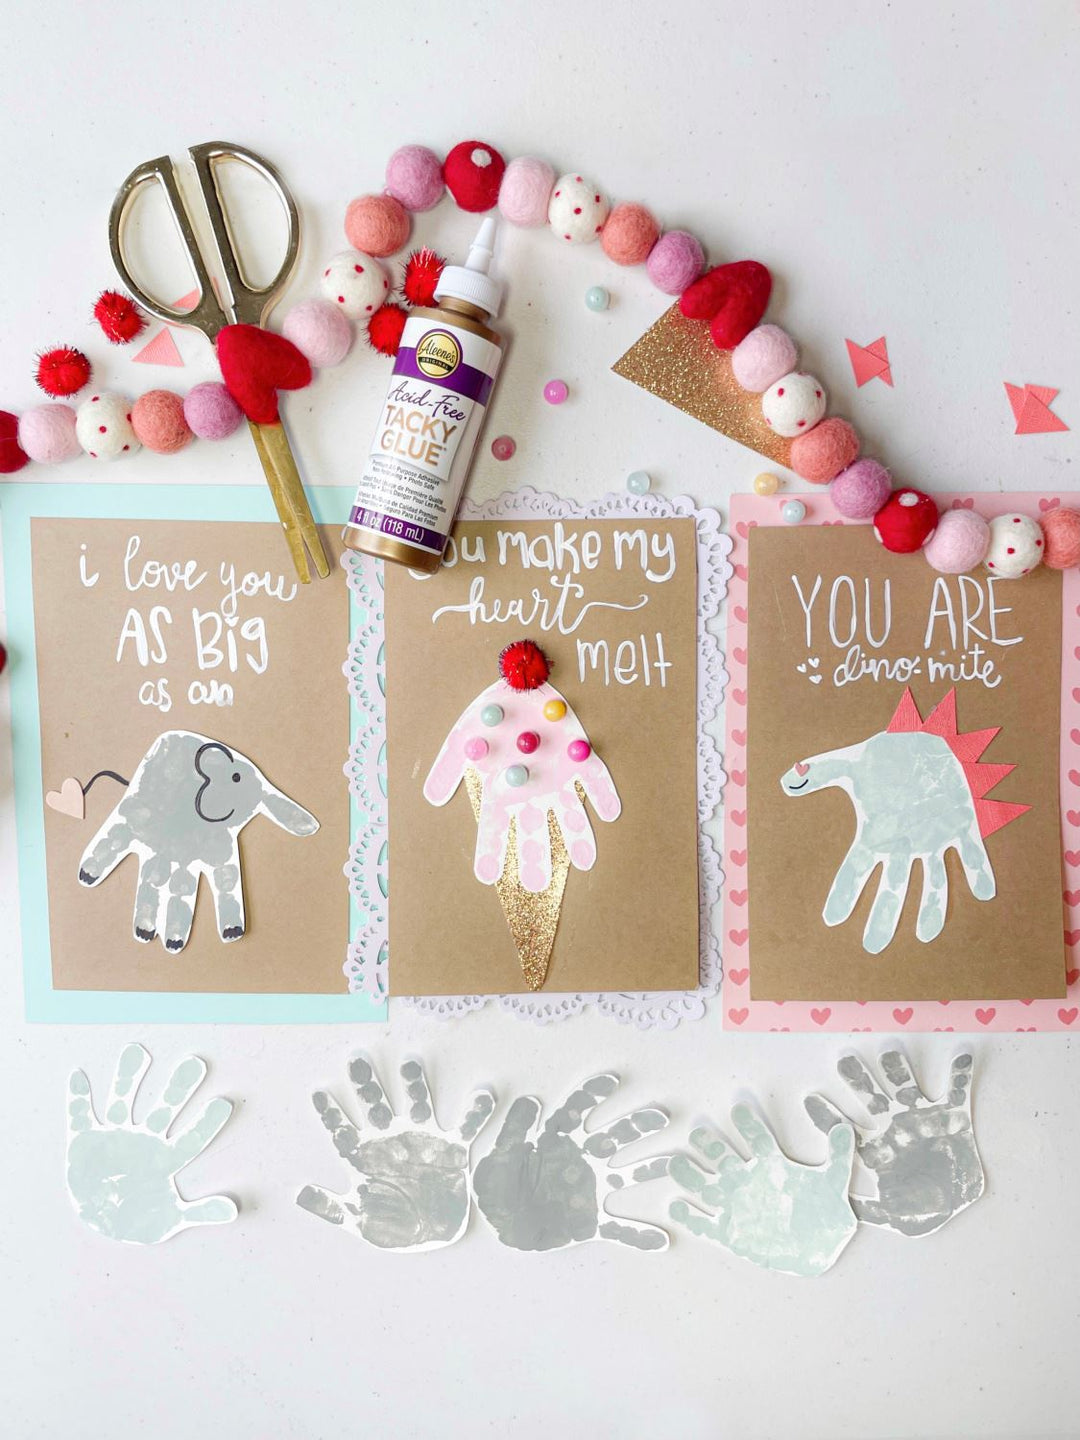
Handmade Valentine's Day Cards with Acid-Free Tacky Glue
Exciting News! Check Out the Fresh Look of Aleenes.com
Fabric
·
Fabric Glue
·
Fall
·
No-Sew Fashion
·
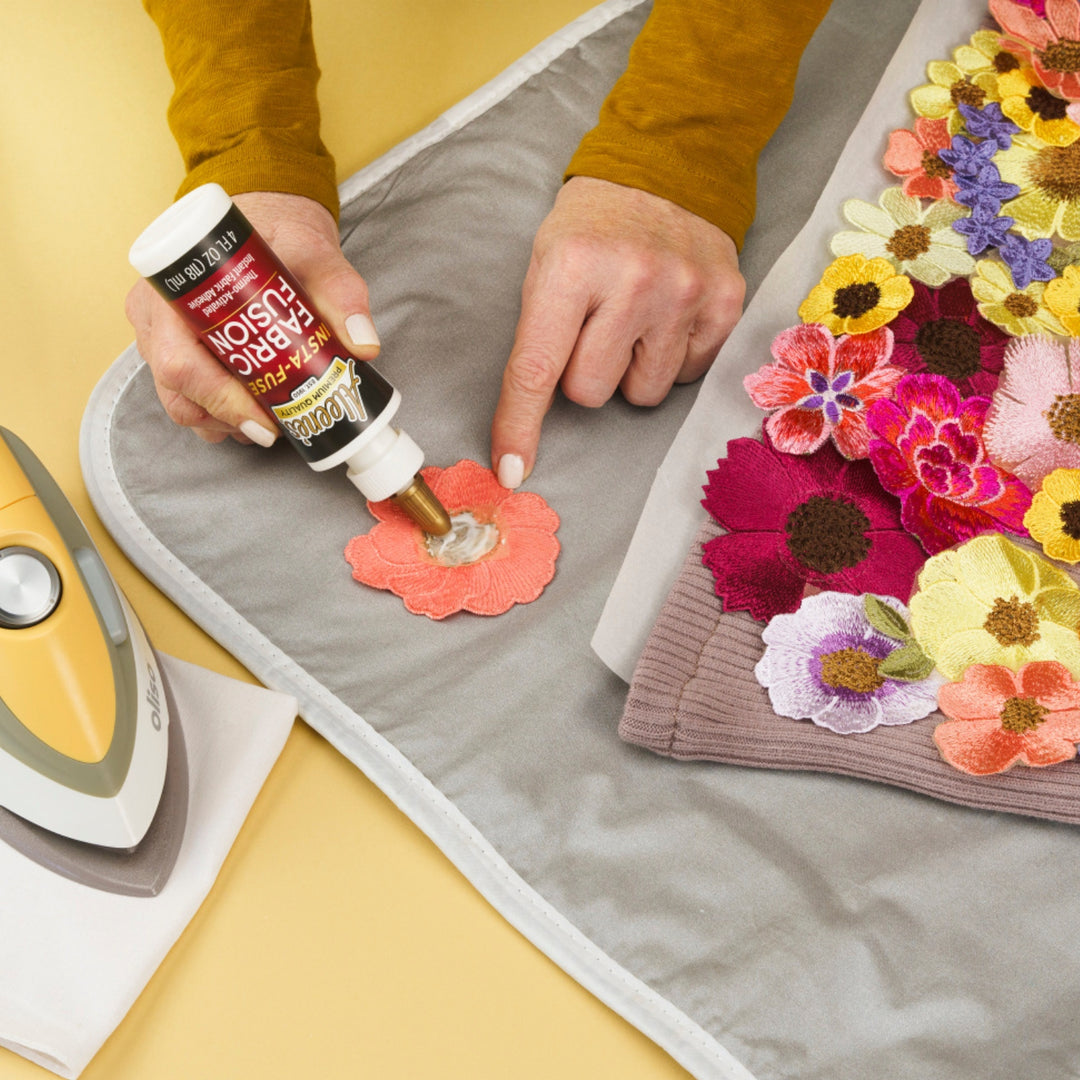
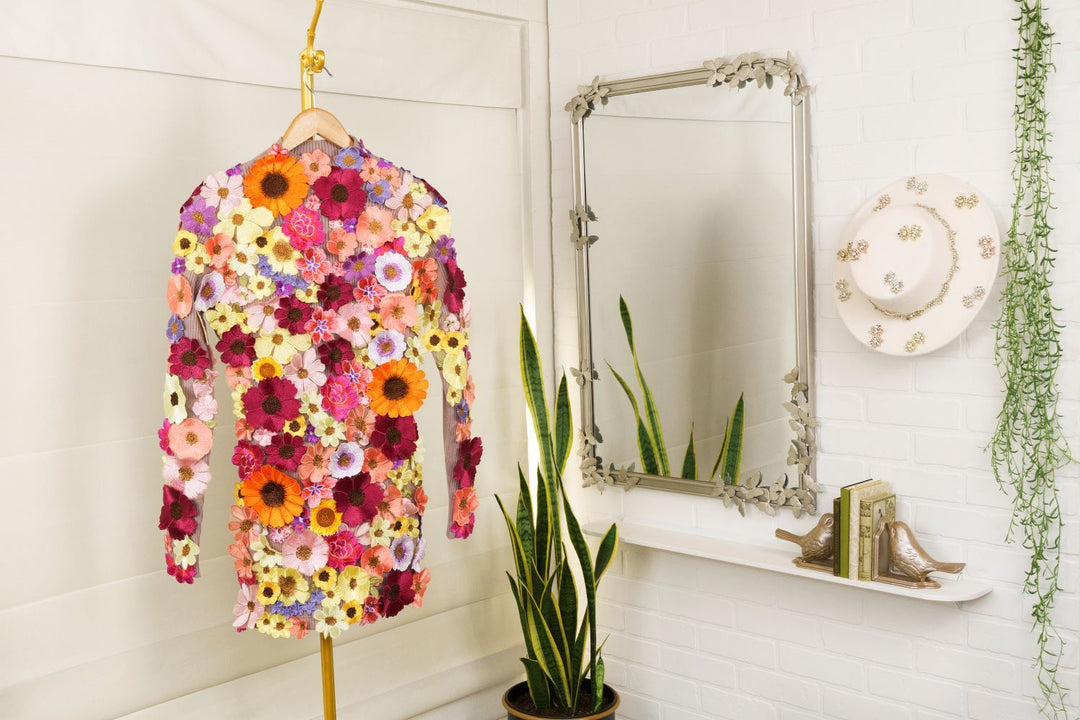
Trending DIY Embellishments: No-Sew Floral Embroidered Dress
Fall
·
Fashion Accessories
·
Gems & Rhinestones
·
Rhinestone Crafts
·
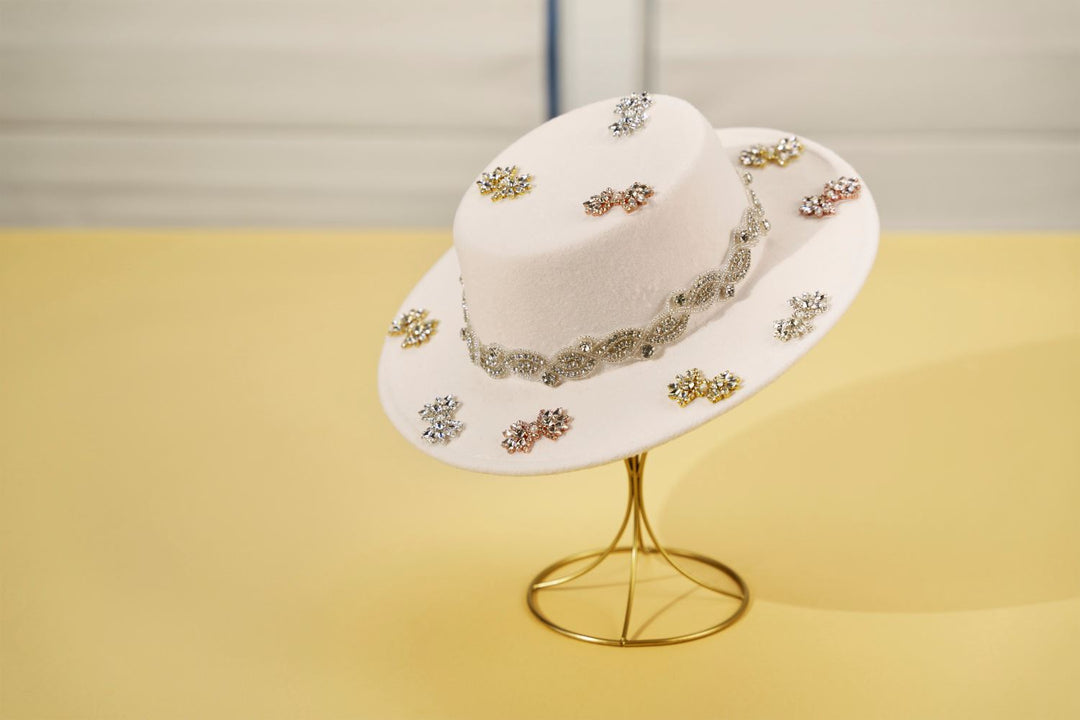
Trending DIY Embellishments: Sparkling Fall Hat
Christmas
·
DIY Ornaments
·
Foam
·
Gift Ideas
·
Glitter
·
Home Décor
·
Kids' Crafts
·
Plastic
·
Tacky Glue
·
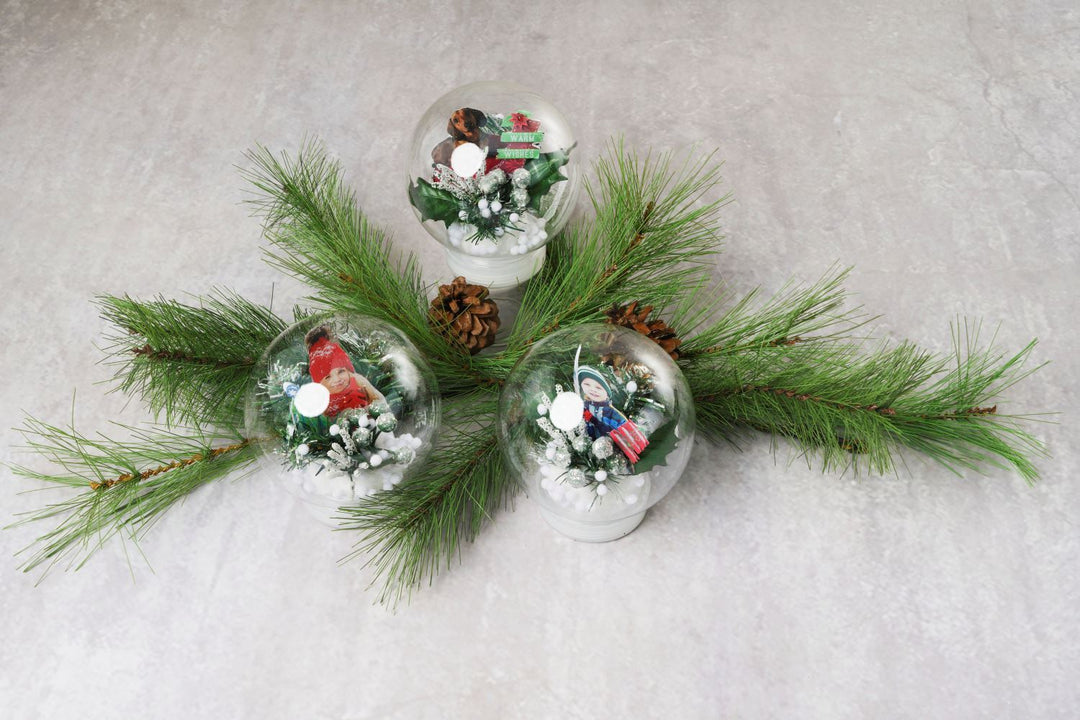
Custom DIY Snow Globe with Tacky Glue
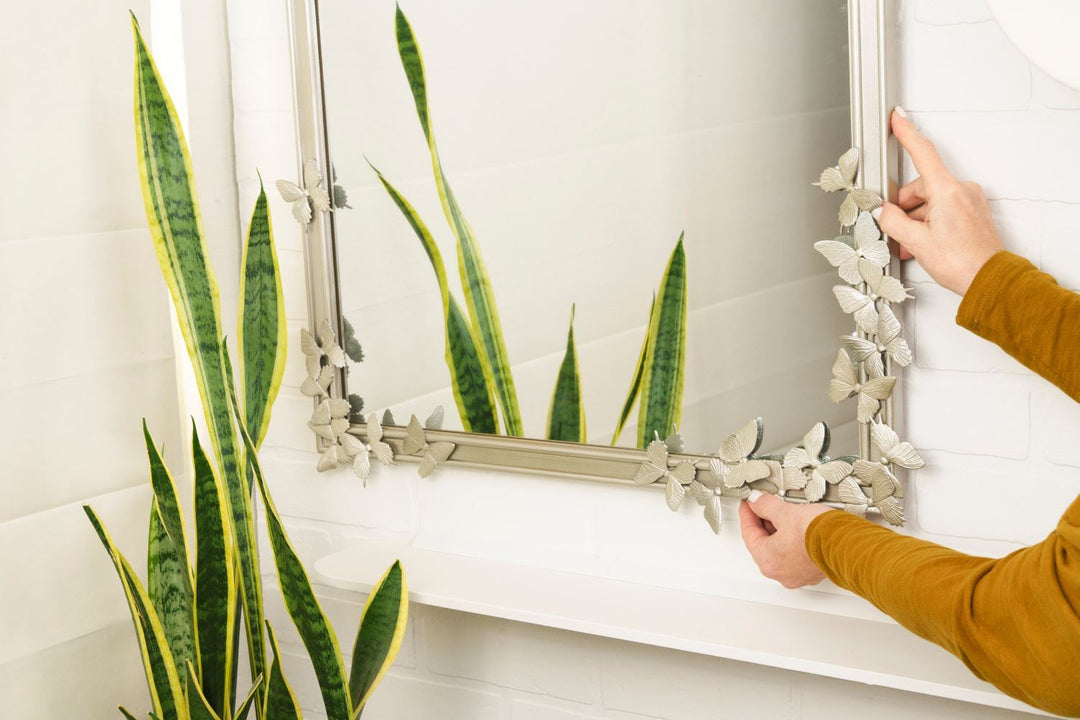
Home Décor
·
Industrial Glue
·
Mirror
·
Trending DIY Embellishments: Butterfly Mirror Frame DIY with Matching Bookends
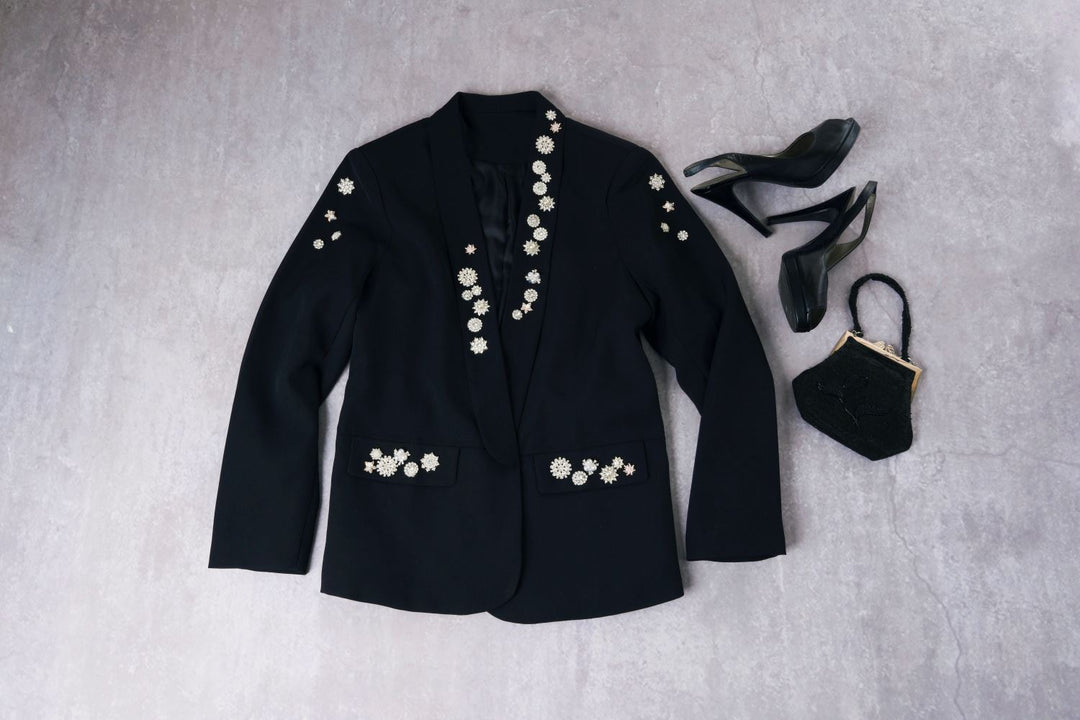
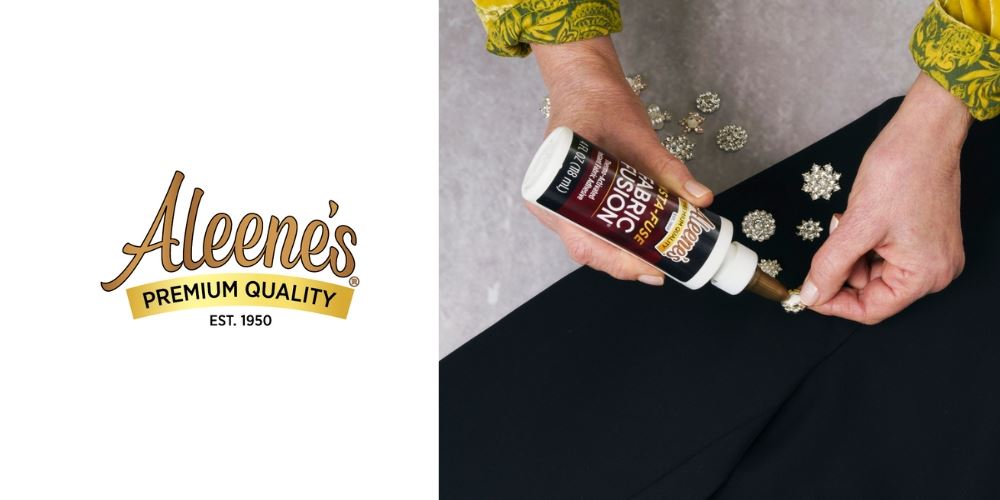
Embellished
·
Fabric Glue
·
Gems & Rhinestones
·
No-Sew Fashion
·
Upcycle
·
No-Sew Snowflake Embellished Blazer with Fabric Fusion
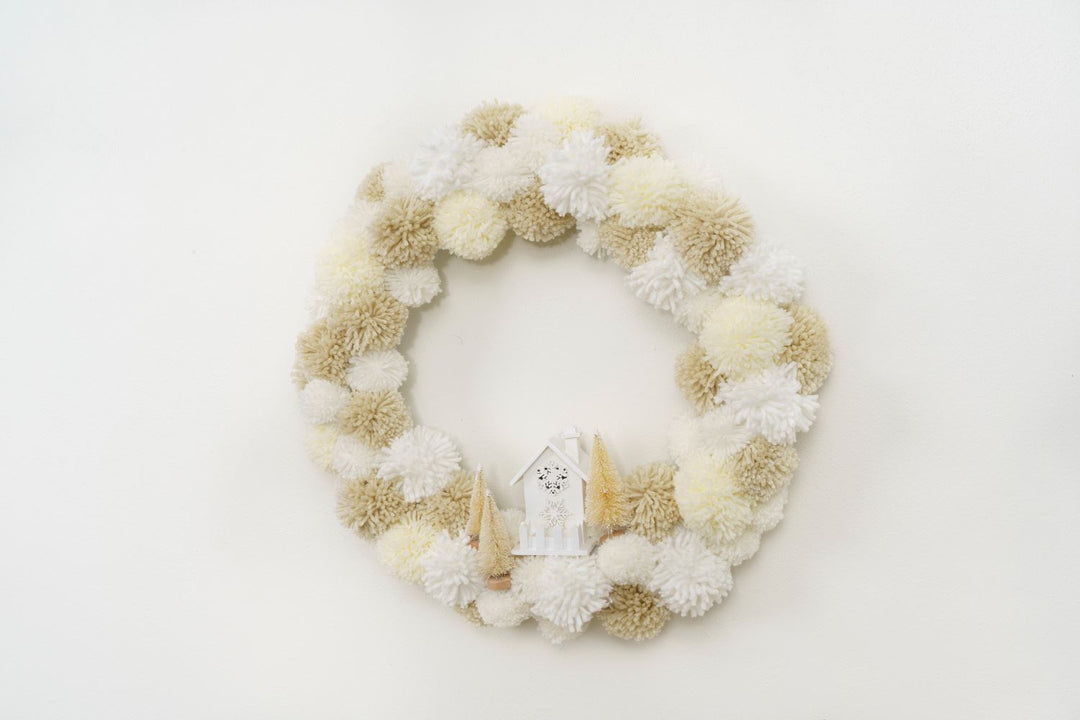
DIY Wreaths
·
Pom-Poms
·
Tacky Glue
·
Winter
·
Winter Pom Pom Wreath with Tacky Glue
About Aleene's
·
Tacky Glue
·
Aleene’s Logo Through the Years
Craft Trends
·
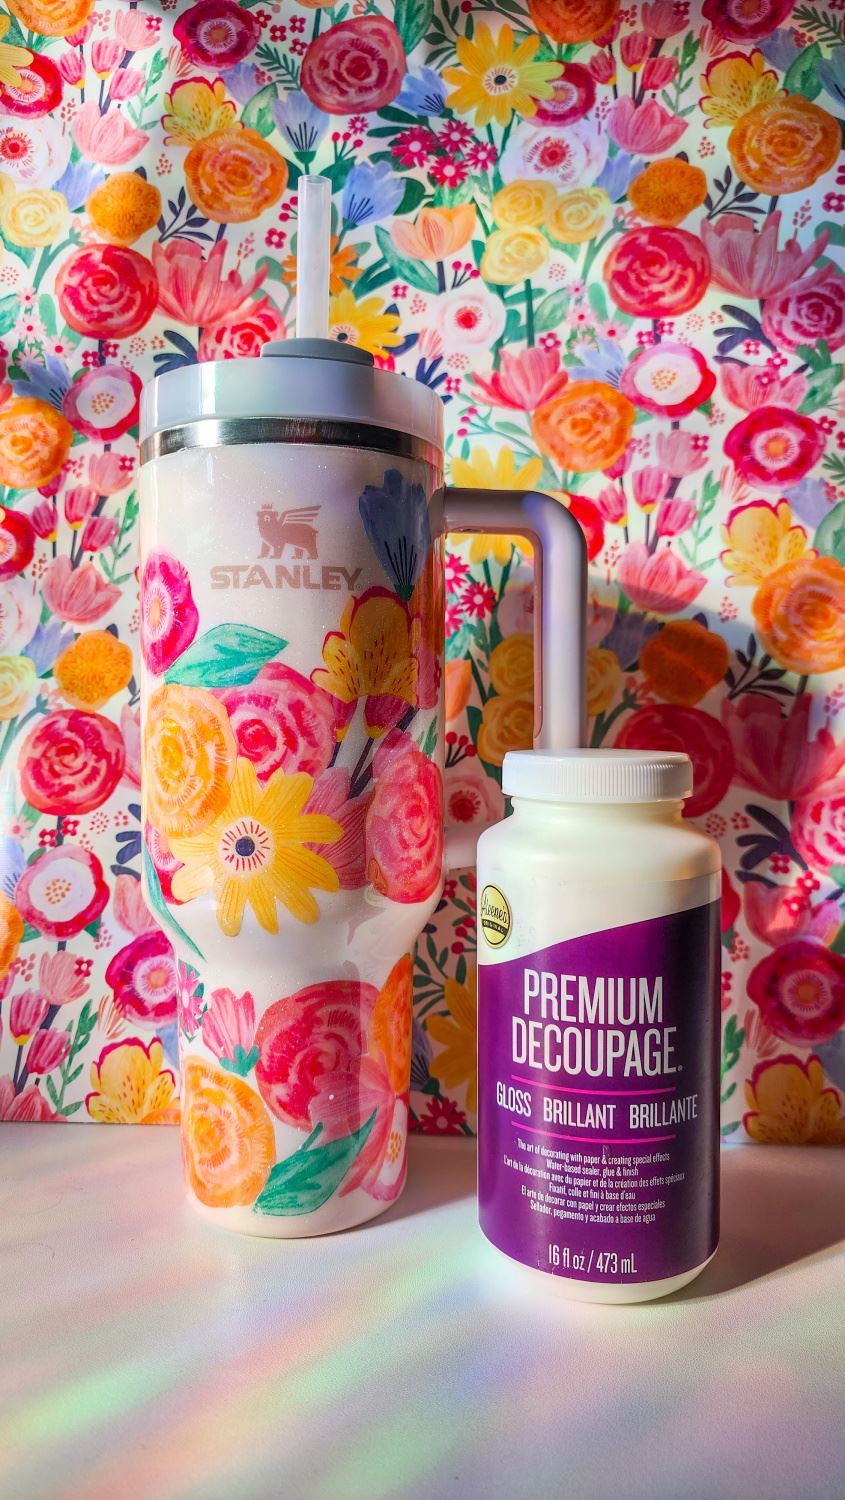
Decoupage Glue
·
Personalized Crafts
·
Tumblers
·
Personalized Tumbler with Decoupage Glue
Craft Trends
·
Industrial Adhesives
·
Repairs
·
Tips
·
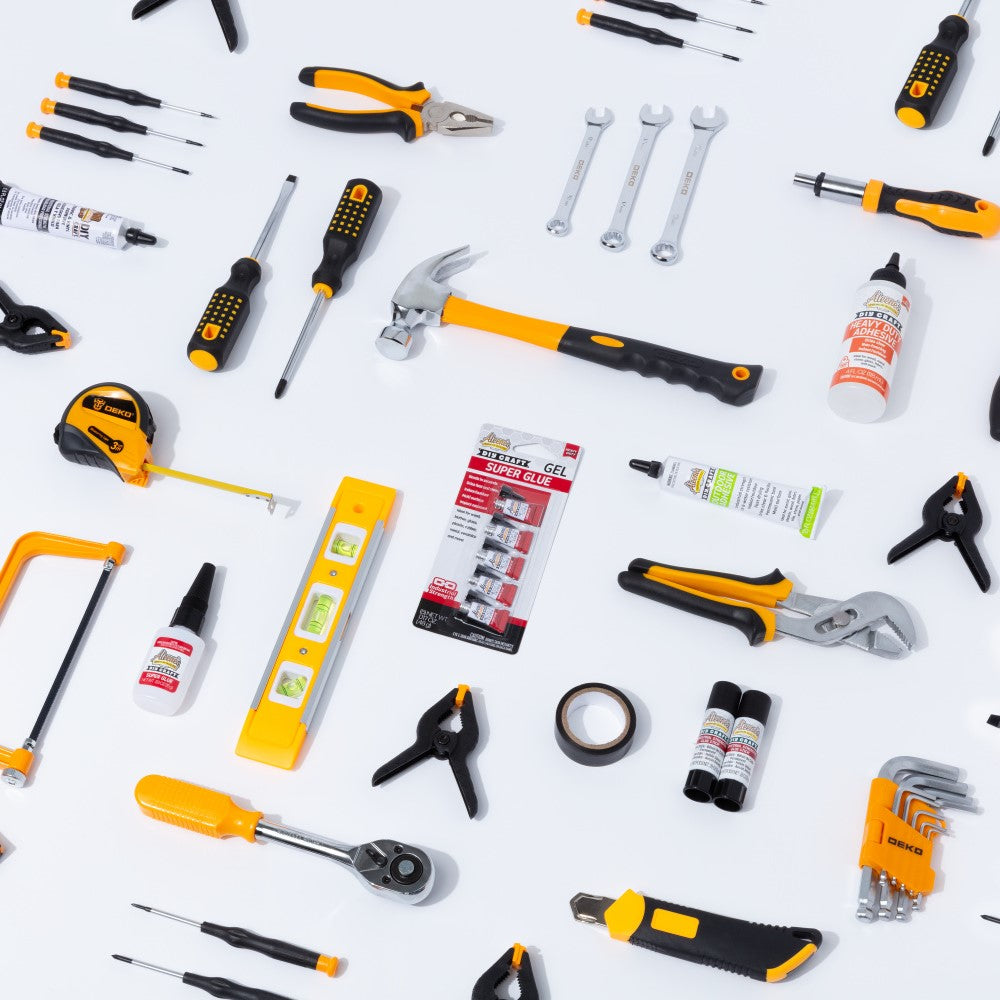
15 Best Glue Products for Home Repairs Without Tools
Christmas
·
Tips
·
20 Crafts to Make and Sell for Extra Cash This Year
Craft Trends
·
Glass
·
Industrial Adhesives
·
10 Creative Glass Crafts to Make with Aleene's
Christmas
·
Instant Adhesives
·
Tacky Glue
·
Winter
·
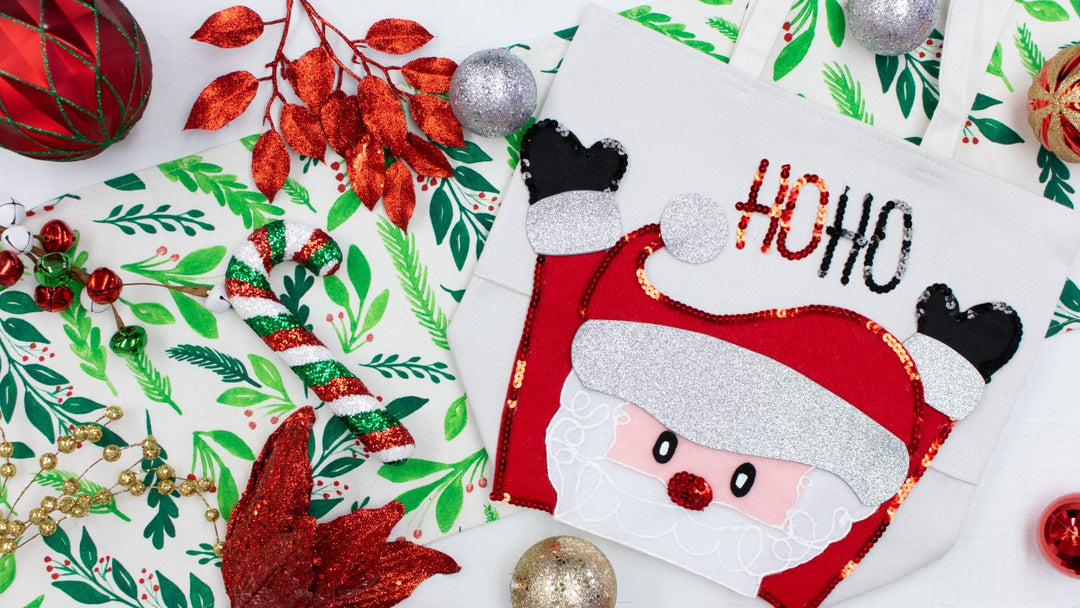
Easy DIY Christmas Gifts You Can Even Do Last Minute
Christmas
·
DIY Ornaments
·
Tacky Glue
·
Winter
·
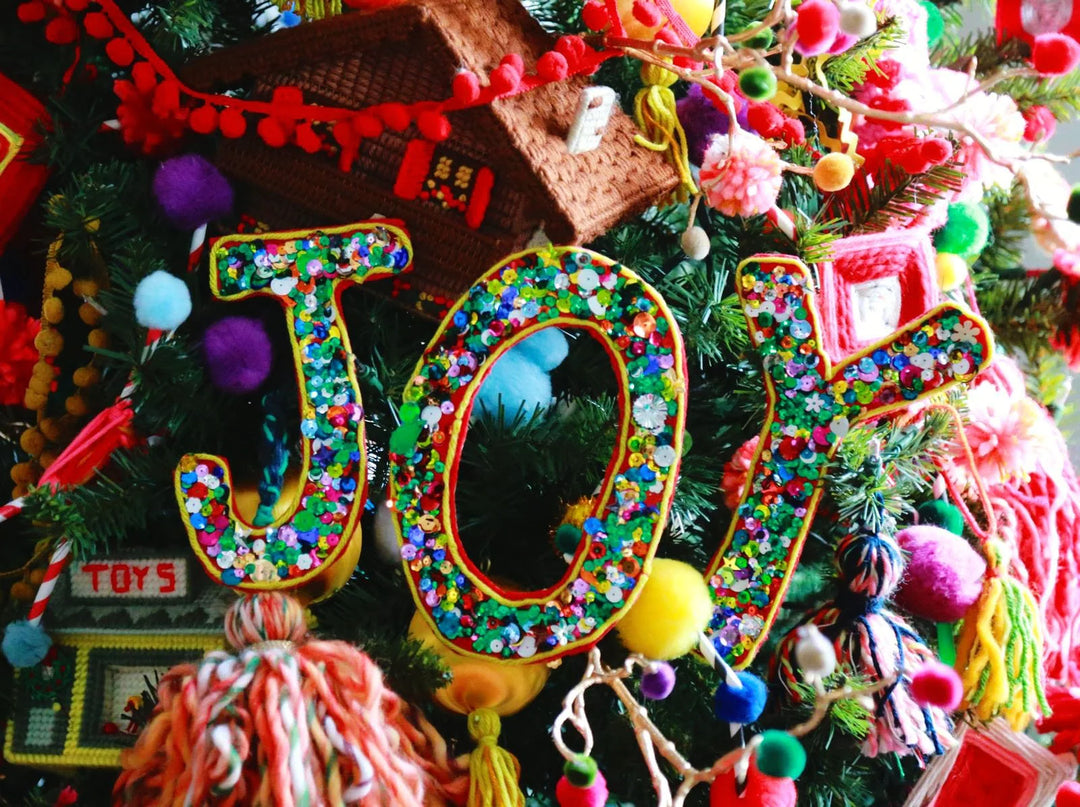
10 Fun Christmas Ornament DIYS - Easy Homemade Ornament Ideas
Christmas
·
Felt
·
Industrial Adhesives
·
Winter
·
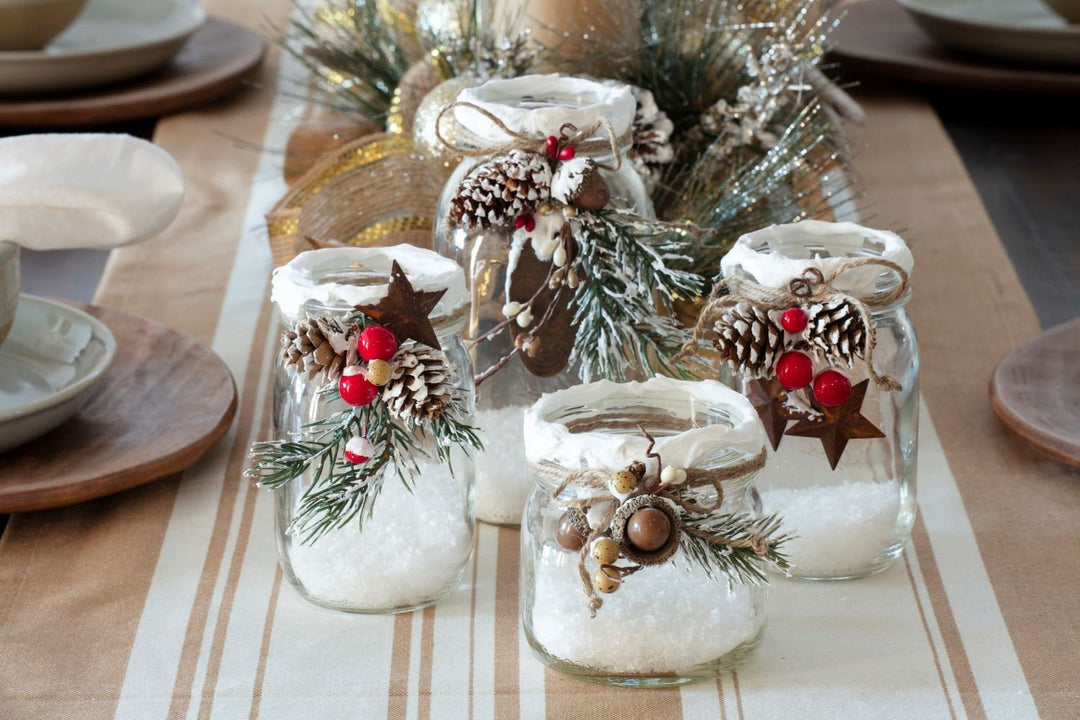
Budget-Friendly Holiday Decor Ideas that Make a Statement
1
2
3
…
13
icon-chevron
Next
icon-X
"Close (esc)"
icon-X
icon-chevron
icon-X
DIY Projects & Trends